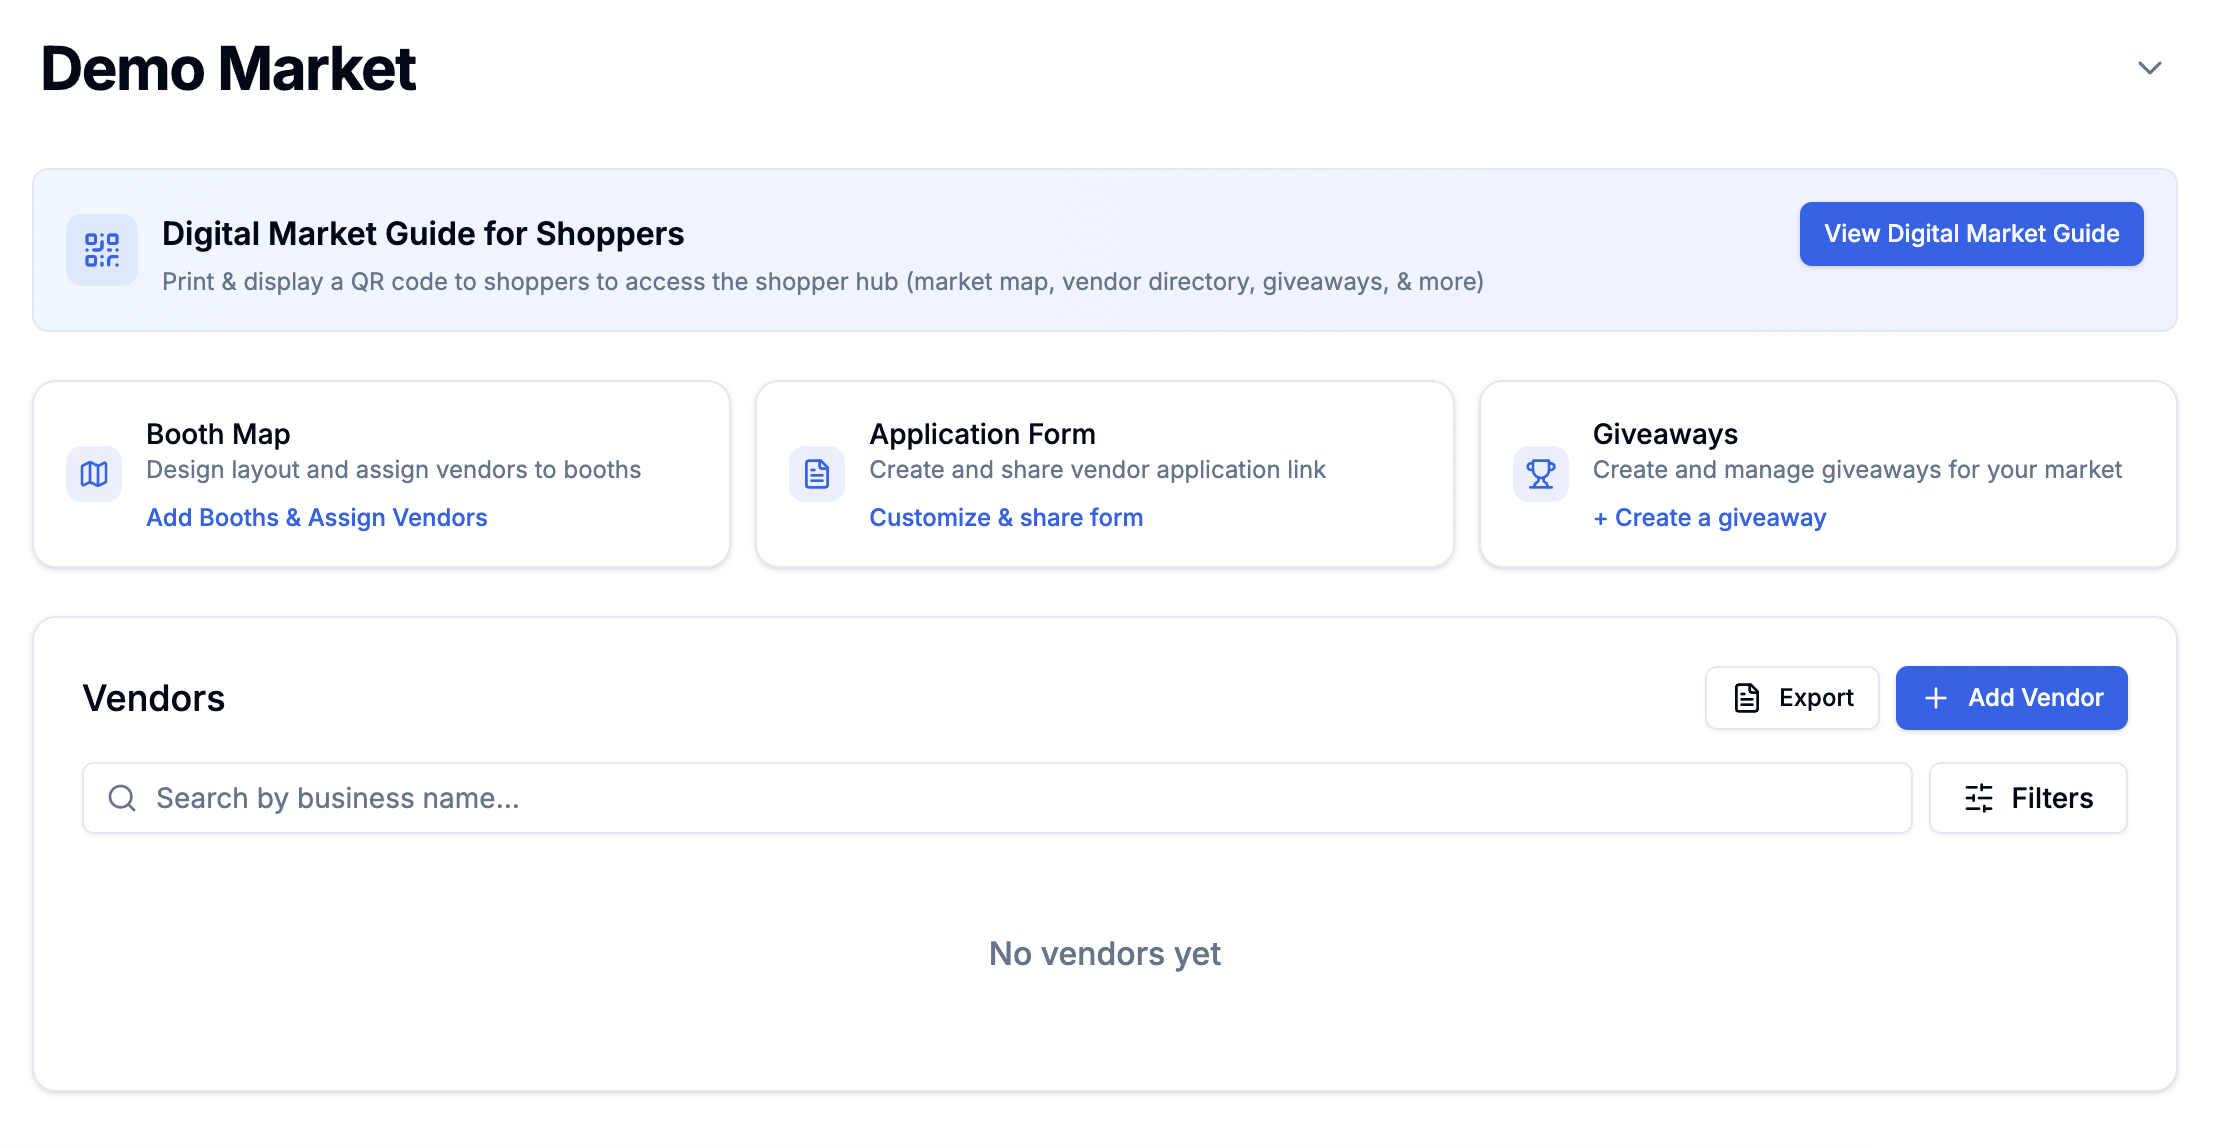
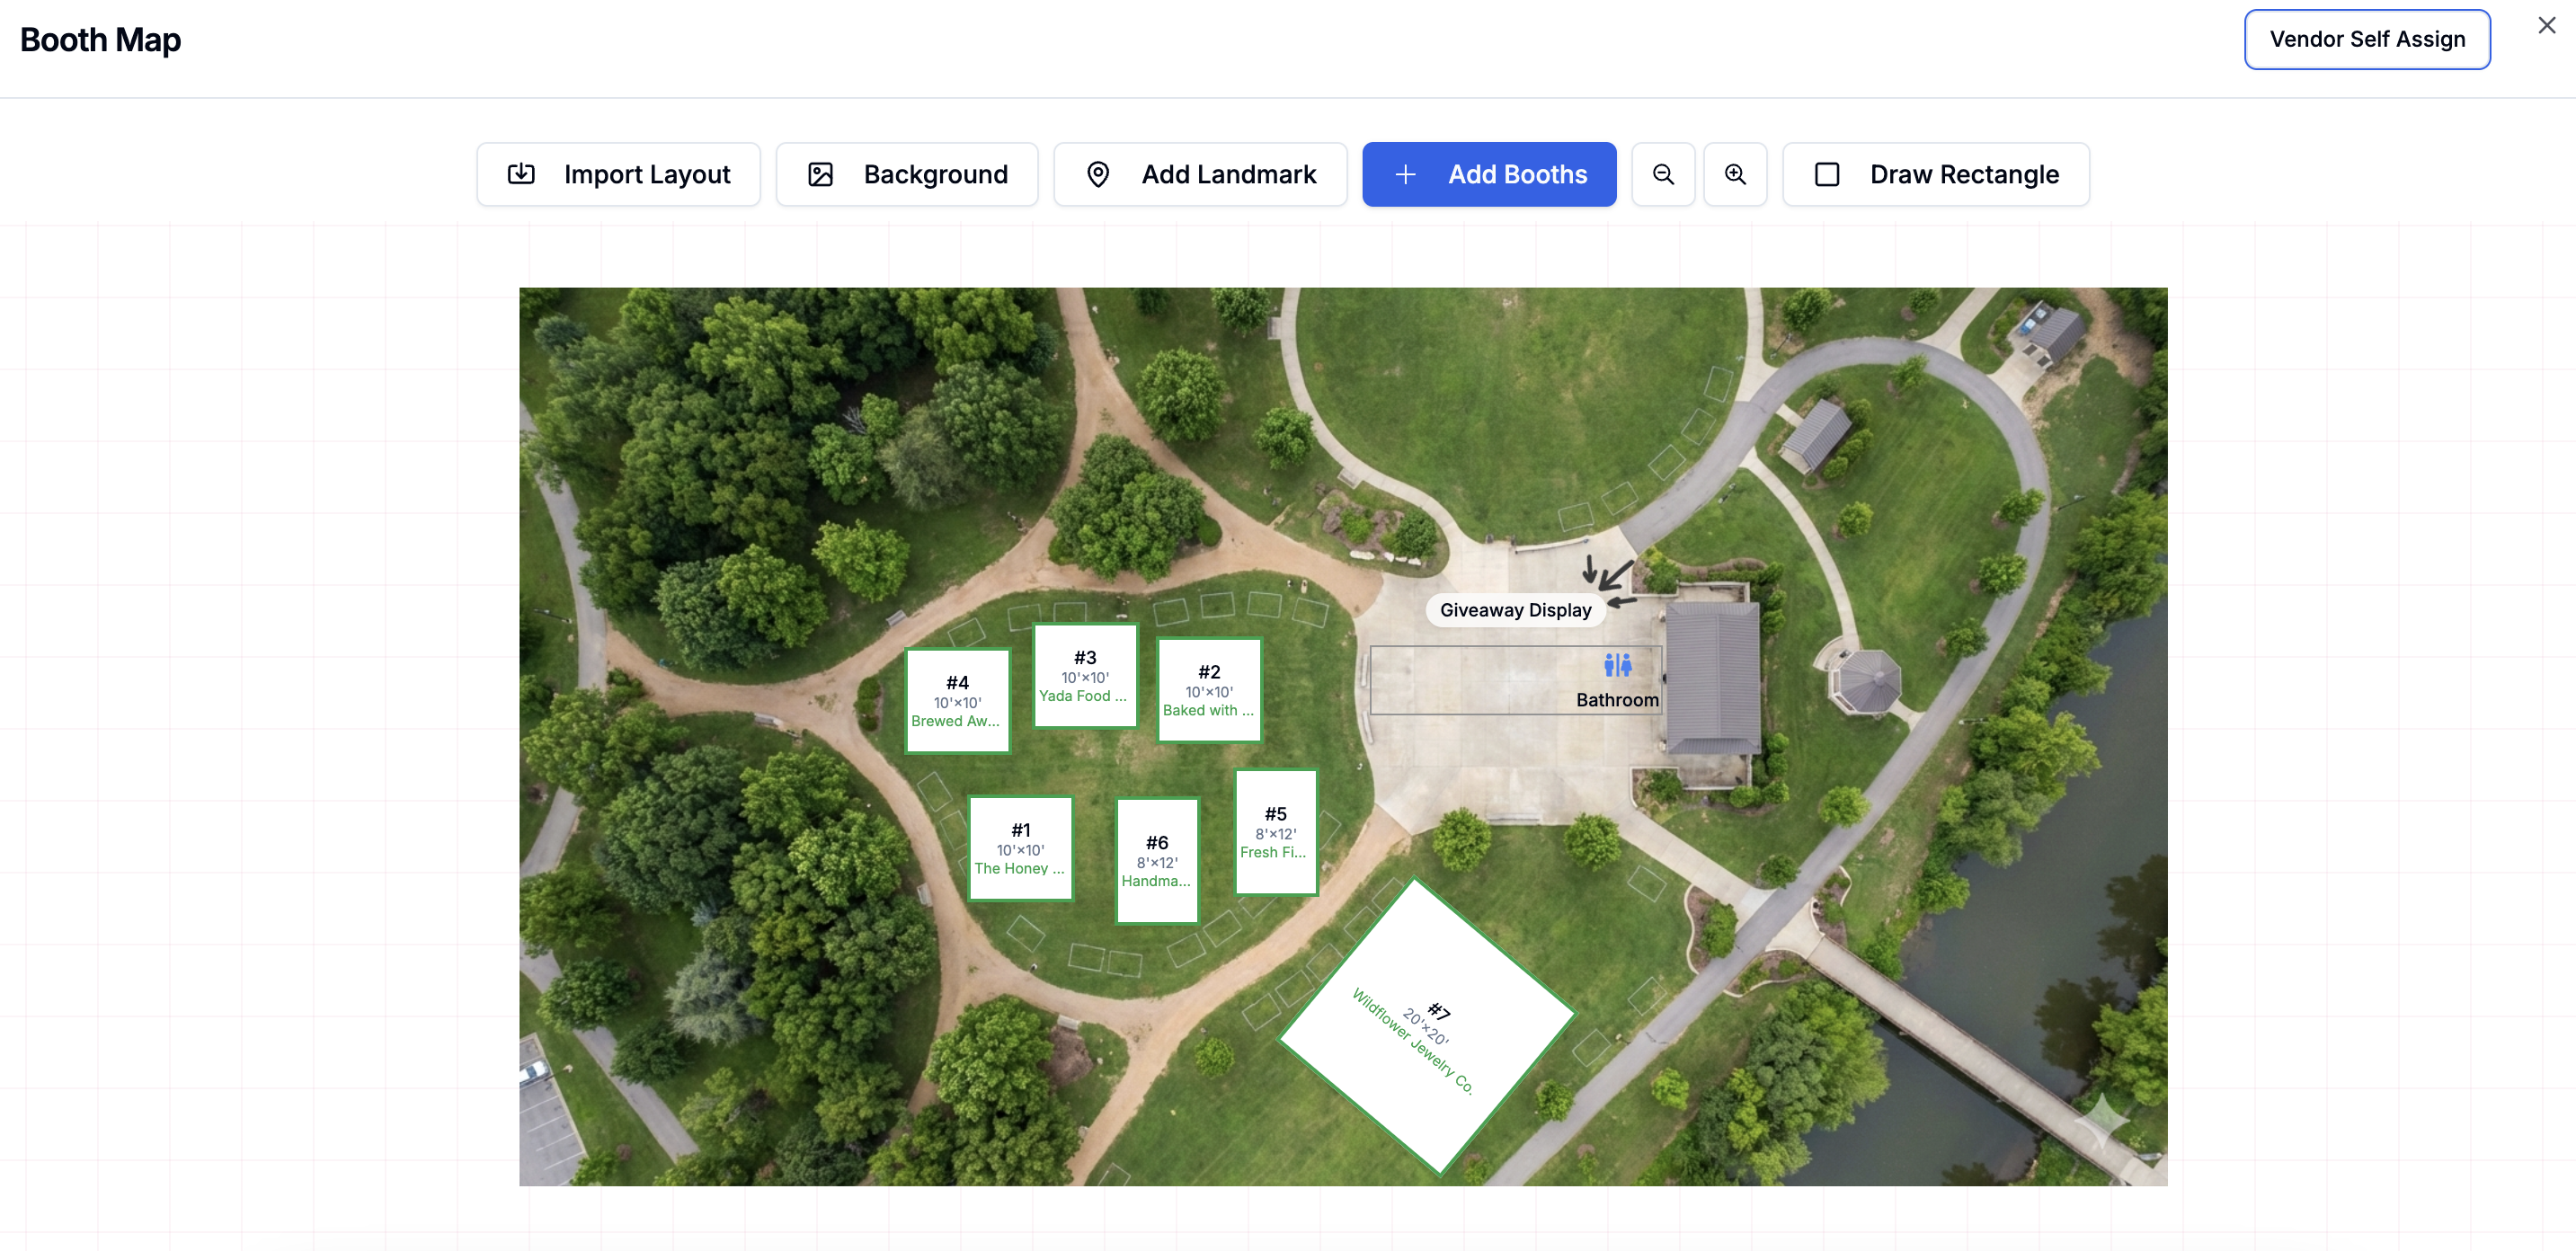
The Booth Map Designer is a drag-and-drop canvas where you create your market’s layout. Place booths, add landmarks, upload a background image of your venue, and assign vendors to specific booth spaces. The finished map appears in the Digital Market Guide for shoppers.
Adjust the scale setting (boothPixelsPerFoot, range 2–30) to control how booth dimensions translate to the canvas. This lets you fit your layout to the actual size of your venue.
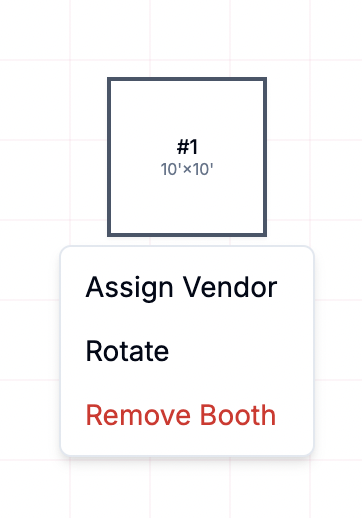
Click any booth on the canvas to see management options:
Booth Management Options
Assign vendor — select from your approved vendors. The vendor’s name appears on the booth.
Rotate — change booth orientation.
Remove — delete the booth.
Assigned booths appear green in the designer to help you track which spaces
are taken. This color is only visible in the designer, not in the public
Digital Market Guide.
You can also assign booths from the Vendor management table on the market page — expand a vendor row and assign a booth from there.
Set a price on individual booths when you create them or by editing an existing booth. Prices are used when vendor booth self-selection is enabled (see below).
Yes. Add, remove, or move booths and landmarks at any time. Changes
automatically update in the Digital Market Guide.
Can I reuse layouts?
Yes. Use Import Layout to copy from another market. If you use Add
another date (duplicate market), the booth map is copied automatically.
How do vendors see their booth?
Vendors see their assigned booth in the vendor portal, the mobile app, and
the Digital Market Guide. If booth self-selection is enabled, they can pick
their own booth from the map.
How do booth fees work?
Set a price on a booth. When self-selection is enabled, vendors pay via
Stripe at checkout. You can also manually request payment from the vendor
management table.